A supple band fit is important for the use of everyday, while Apple Watch bands with the links of metal were so anyone can easily size him prawol. Wrists might also change over time, or you’d like to resize a new band for optimal comfort and fit. Removing watch links at home saves time and helps maintain the proper balance between comfort and stability. With simple tools and careful handling, users can adjust their bands without causing damage. This guide explains clear, practical steps that make the resizing process simple and organised. Each method focuses on safe handling, neat results, and preserving the band’s original look for long-term wear.
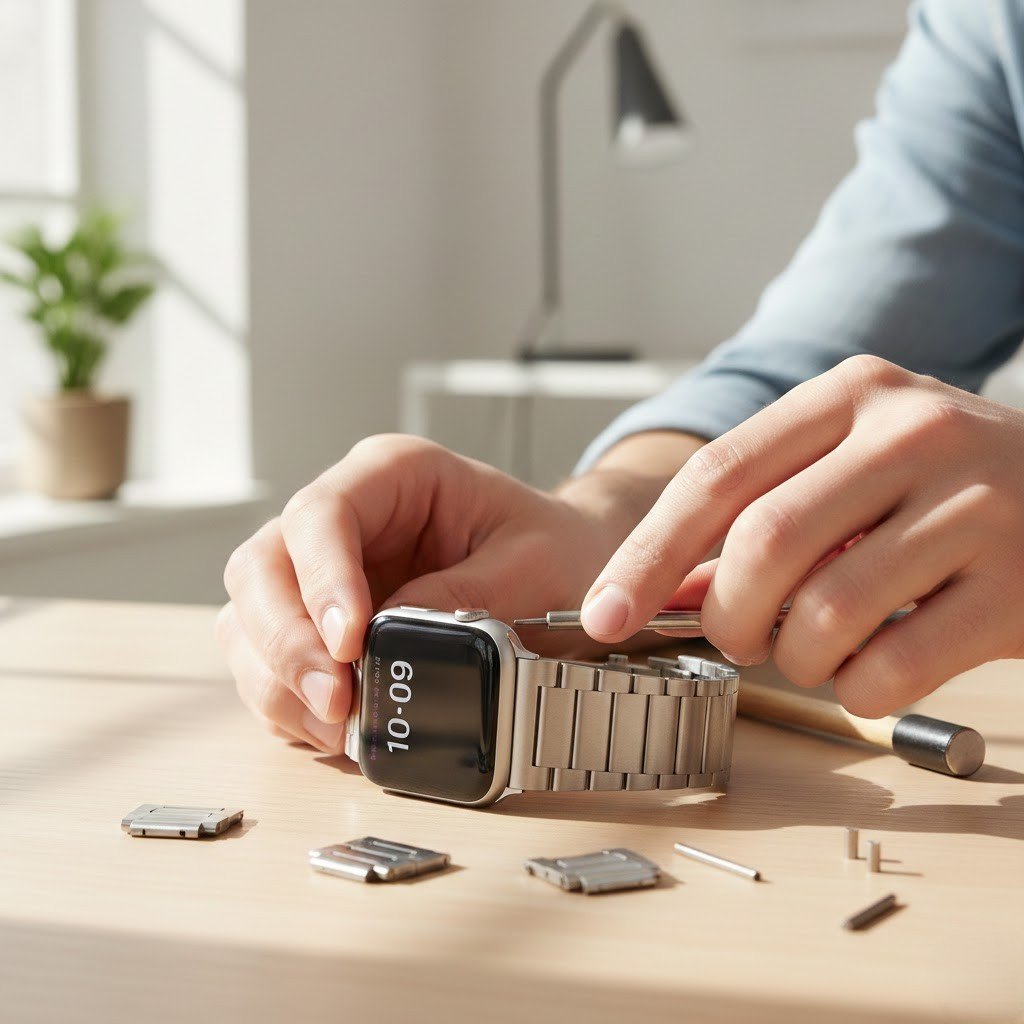
Use the Correct Tool
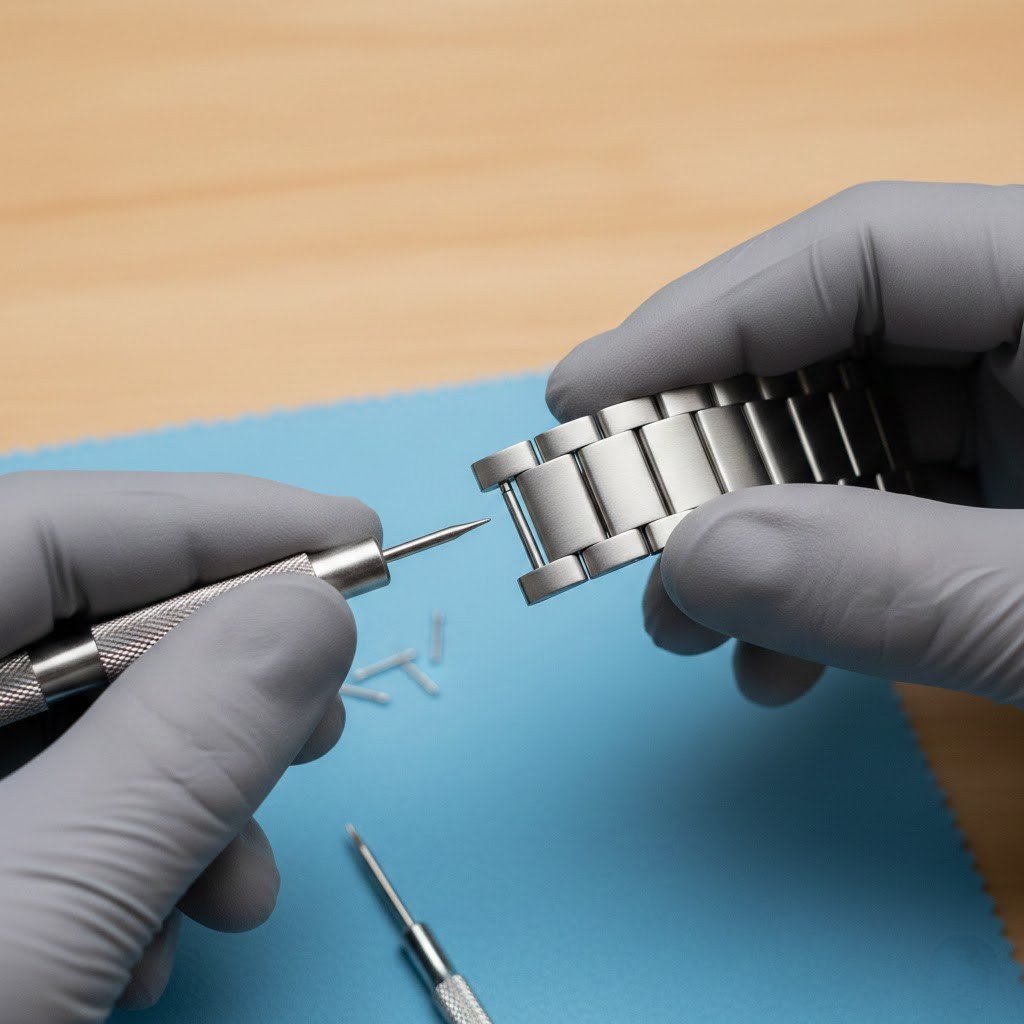
A proper link removal tool or small pin pusher ensures accurate pressure on band pins. This prevents scratches, bending, or misalignment. Correct tools also provide better control, helping users remove links without damaging the metal surface or clasp mechanism.
Check the Direction Arrows
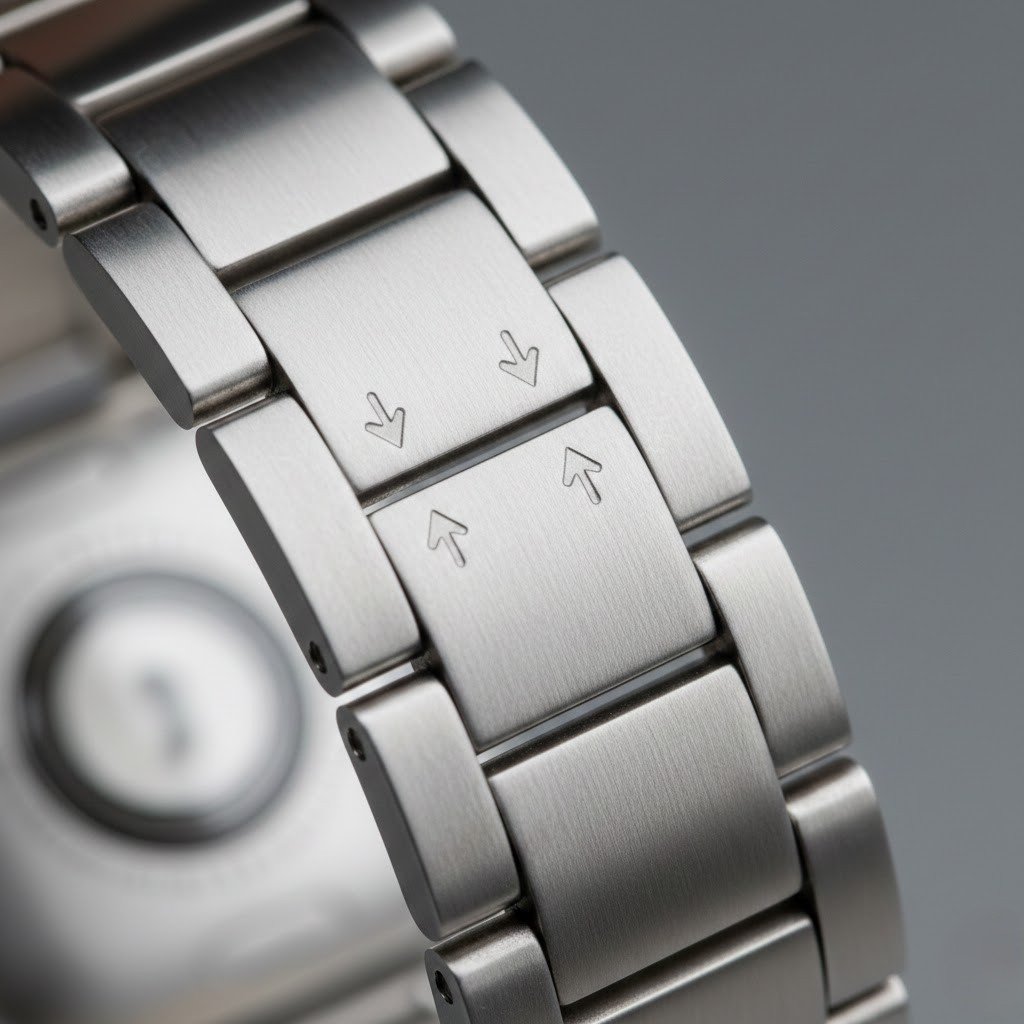
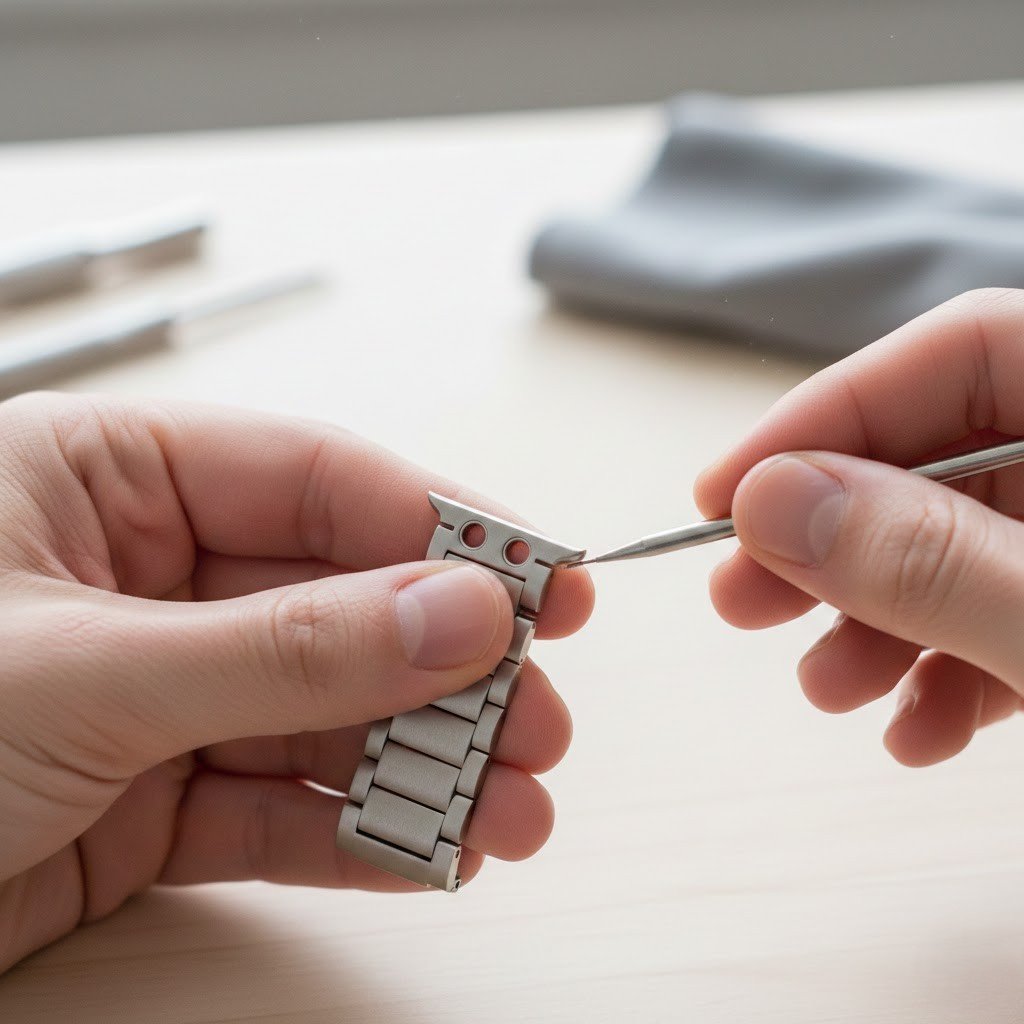
Most Apple Watch metal bands have small arrows on the inner side showing pin direction. Always follow these markings. Pressing pins in the wrong direction may damage internal components and make reassembly difficult.
Work on a Flat Surface
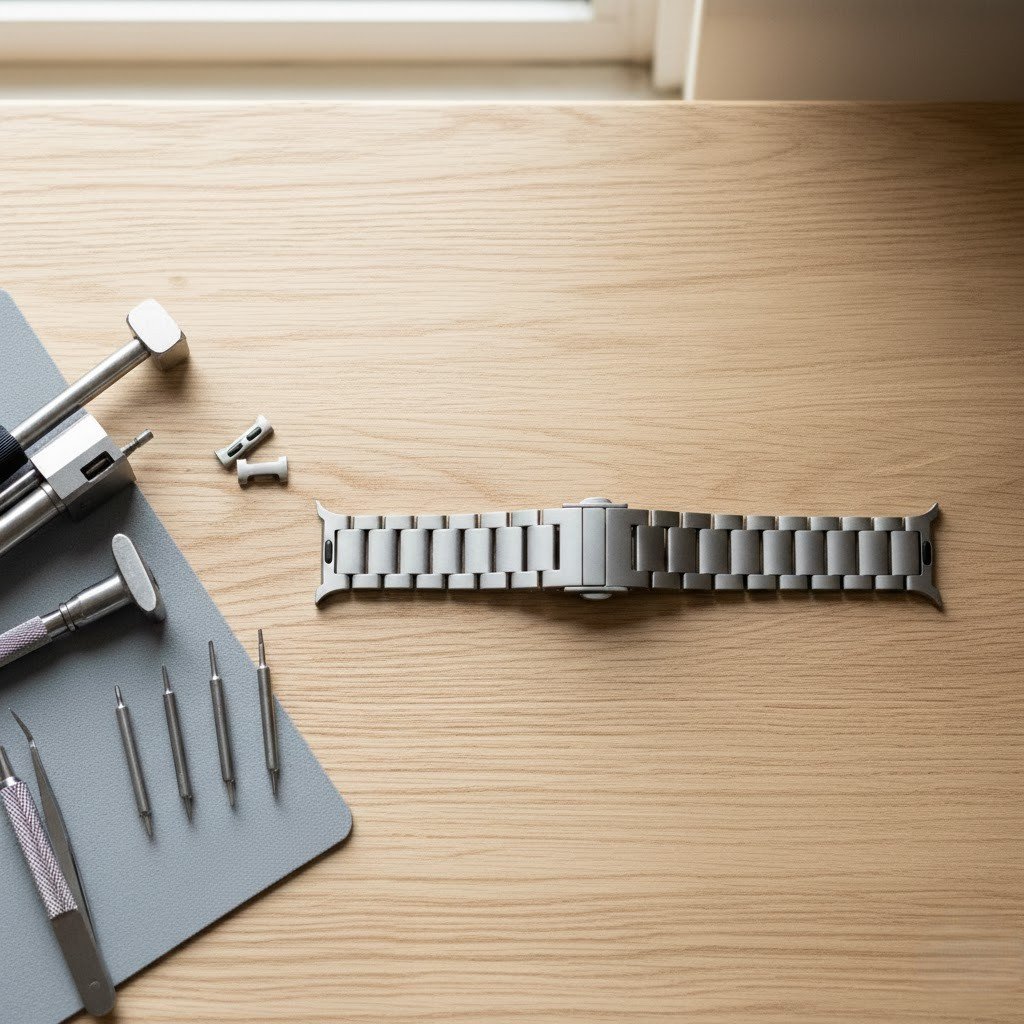
A flat, clean table provides stability while removing links. It prevents small pins from rolling away and protects the band from accidental falls, ensuring each step is completed neatly and safely.
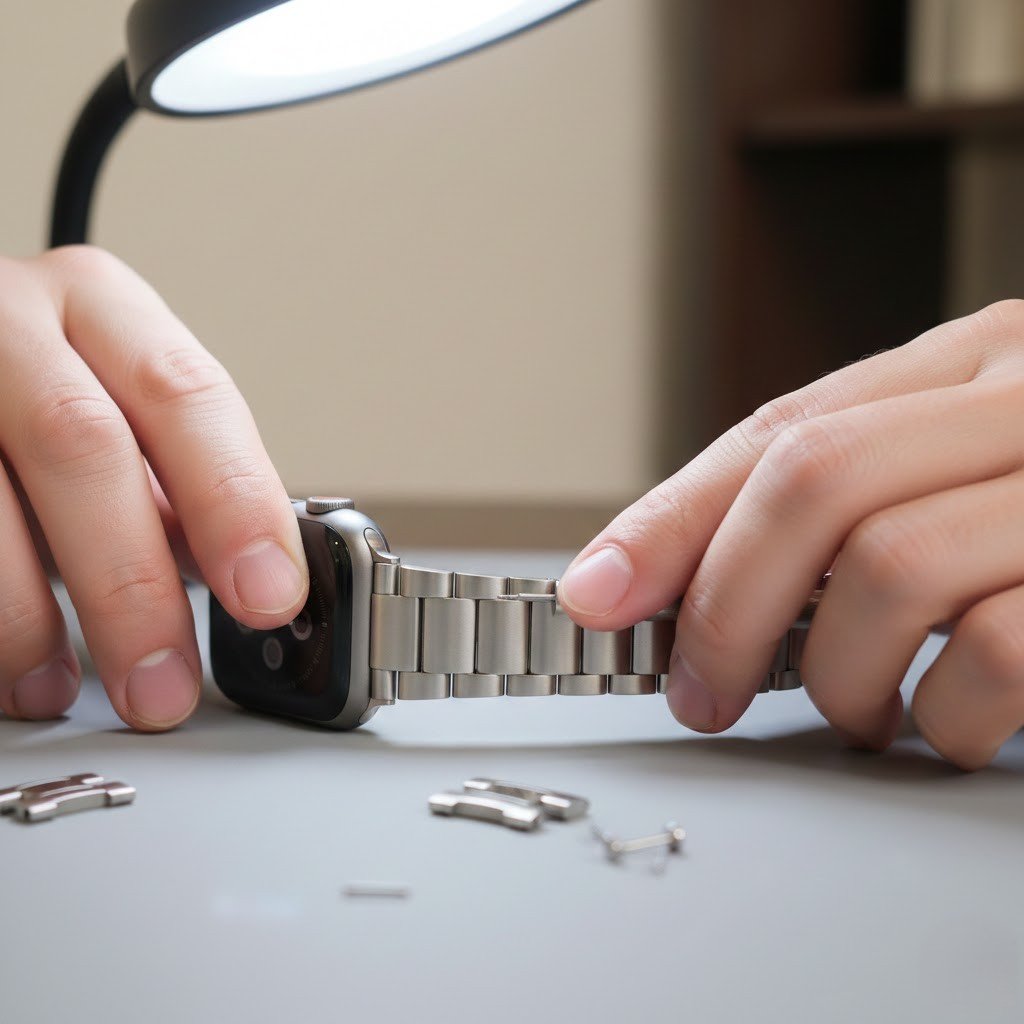
Remove One Link at a Time
Adjust gradually by removing one link first. Test the fit before continuing. This avoids over-shortening the band and ensures the final size remains comfortable and balanced on the wrist.
Store Removed Links Safely
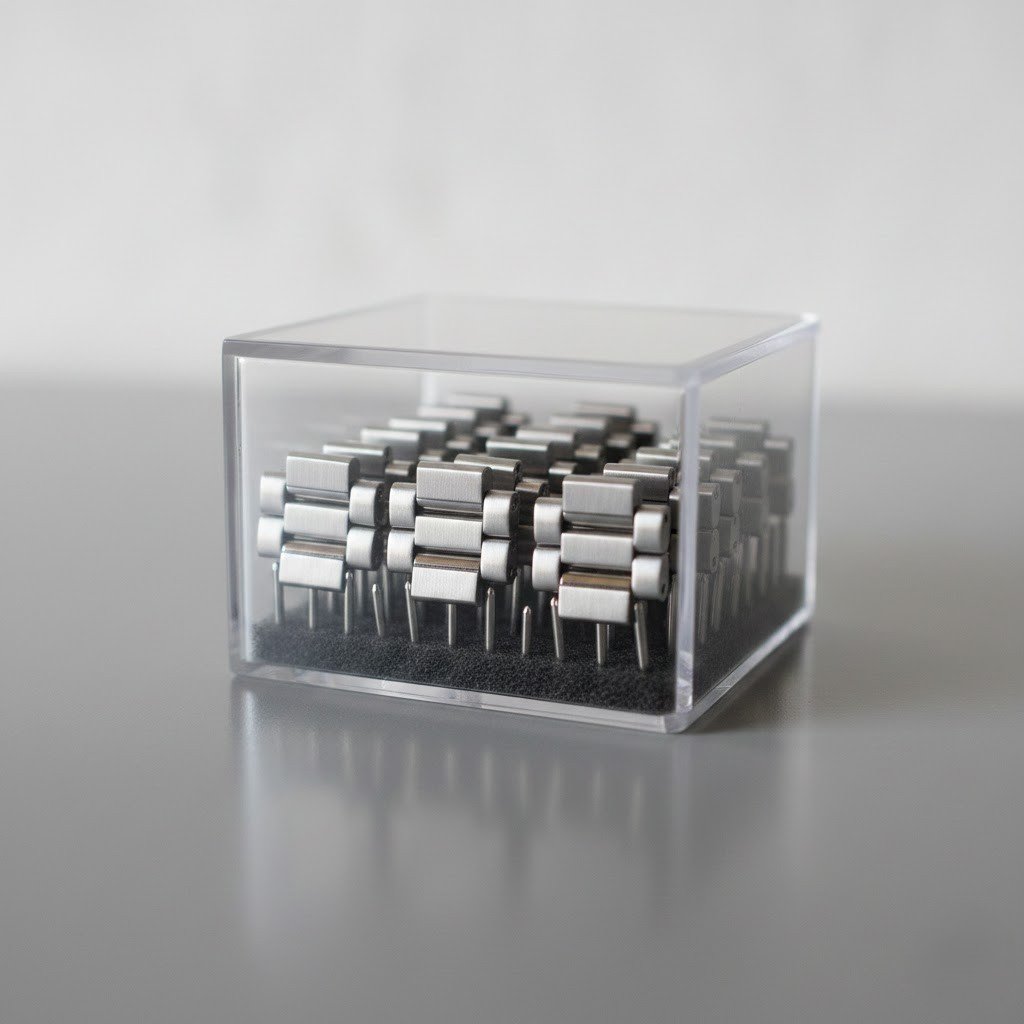
Place extracted links and pins in a little box. This enables easy reattachment at a later time if the wrist size changes or if the band is shared with another user.
Align Pins Carefully During Reassembly
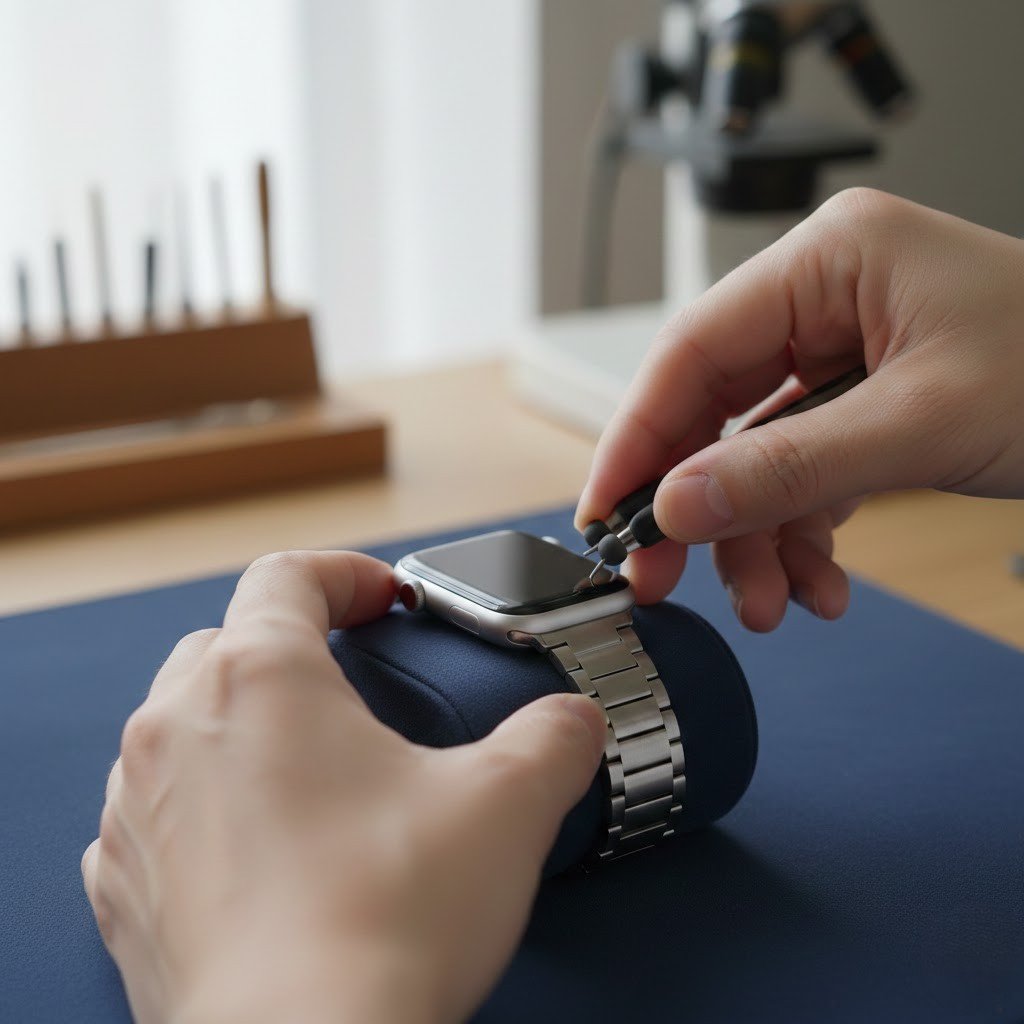
If you are trying to reconnect the band, make sure that all of the holes line up before pushing the pins back in. Soft pressure allows easy installation with no bending to maintain the band secure and level.
Avoid Excessive Force
Pressing too hard can break pins or bend links. Slow progression reduces the risk of wearing out a band while keeping its shape to end up with professional-style results.
Inspect the Clasp After Adjustment
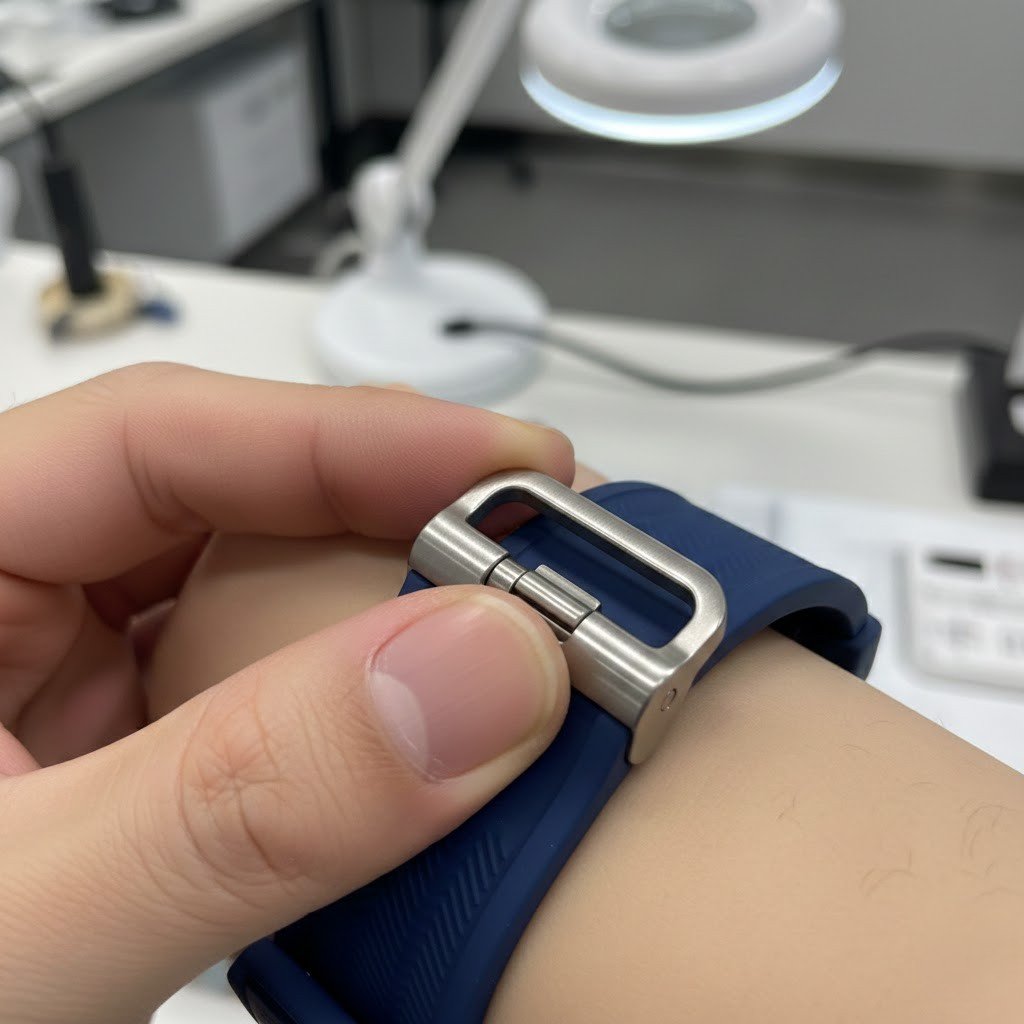
Test the clasp after you have resized. It must open and close easily with little to no resistance, to keep the band fastened without having it touch your wrist.
Clean the Band Before Wearing

Clean the band with a cloth to wipe away fingerprints that may have been left behind on the device during adjustment. This allows the band to look nice and smooth against the skin.
Test the Fit Properly
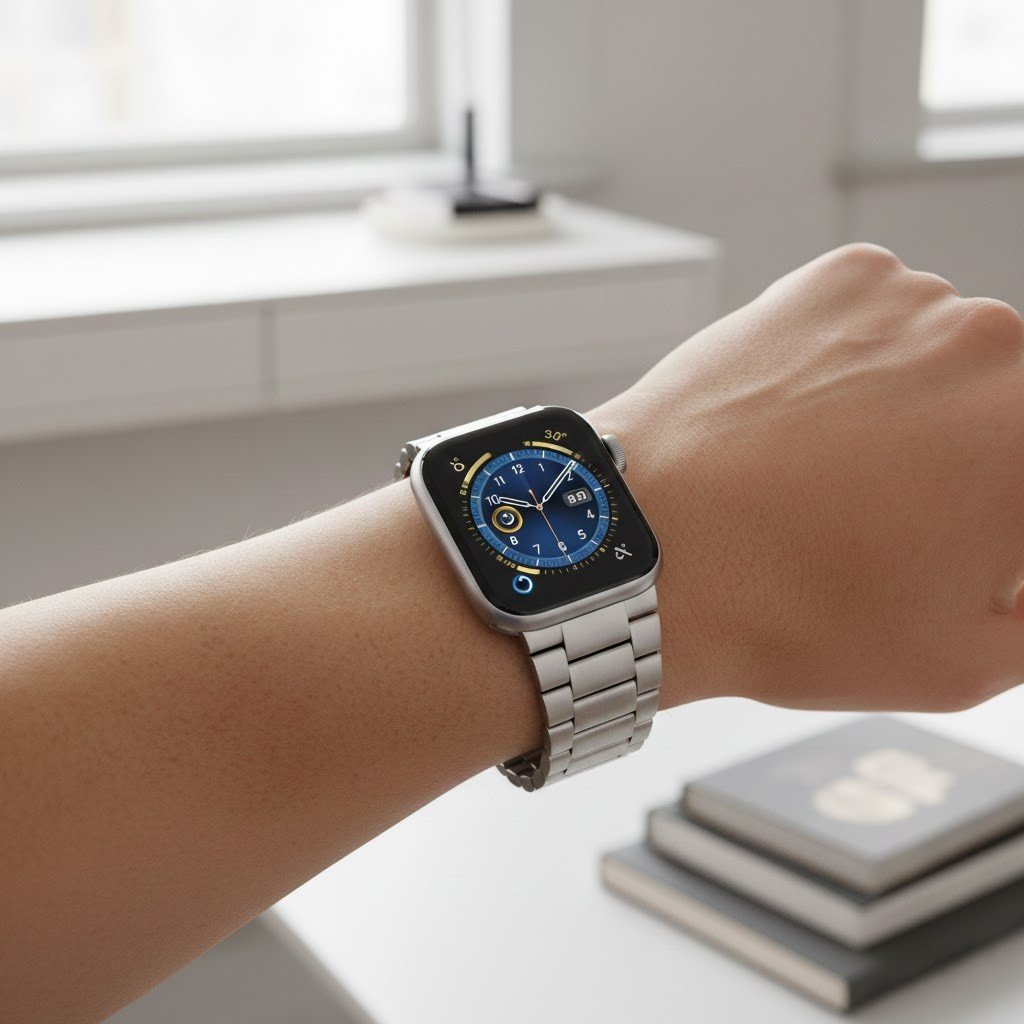
Wear the watch for a little while to make sure the band does not slip or pinch. A correct fit supports daily comfort and helps maintain accurate health tracking.
Seek Professional Help If Needed

Should pins be seized or alignment is proving by no means straightforward, a trip to an authorised service centre will save the chance of accidental damage and allow for precision resizing.